
Webhooks
Webhooks allow you to send event-based data to your external application. There are two main components to setting up a webhook with Ytel: webhooks, and connections.
Storing Authentication for WebhooksAlthough the webhook itself allows you to put in any header information you wish, it does not encrypt that information. Please use a Webhook Connection to store any sensitive authentication information.
Webhooks

Webhooks List (click to expand)
View and manage your Ytel Webhooks using the Webhooks tab:
- Connection: Create a new connection.
- Webhook: Create a new webhook.
- Show Columns: Show and hide columns displayed in your webhooks list.
- Export: Export your webhooks list to CSV.
- Row Actions: Clone or delete a webhook.
Create Webhook

Create Webhook (click to expand)
When creating a new webhook, you’ll find the following fields:
- Name: Give your webhook a meaningful name for future reference.
- Connection: Select an existing connection. You can also create a new connection by clicking on the Add new link.
- Method: Choose the REST method for sending the webhook. In most cases, you’ll use POST.
- Request URL: Endpoint for your external application that will receive the Ytel Webhook.
- Content Type: Format for your request body. JSON, MULTIPART-FORM-DATA, and FORM-DATA are available options.
- Event Type: Select the Ytel Event that should trigger the webhook callout to be sent.
- Add Header: Used to add non-sensitive header information to the webhook callout.
- Request Body: Payload to be included in the webhook callout. This should be formatted as the Content Type you selected.
- Response Processing: Used to process callout responses from your external application. JSONPath is used to narrow down to a specific node within the response in order to save it to a Ytel variable. Both Success and Error response variables can be created.
- Failure Strategy: Specifies whether or not the webhook should be retried in the event of an error response.
NOTE: Although you can place authentication information in the webhook header, it won’t be encrypted. Use Connections to store your authentication data securely.
Connections
Connections store private webhook authentication information. Ytel securely stores authentication data at rest with encryption.
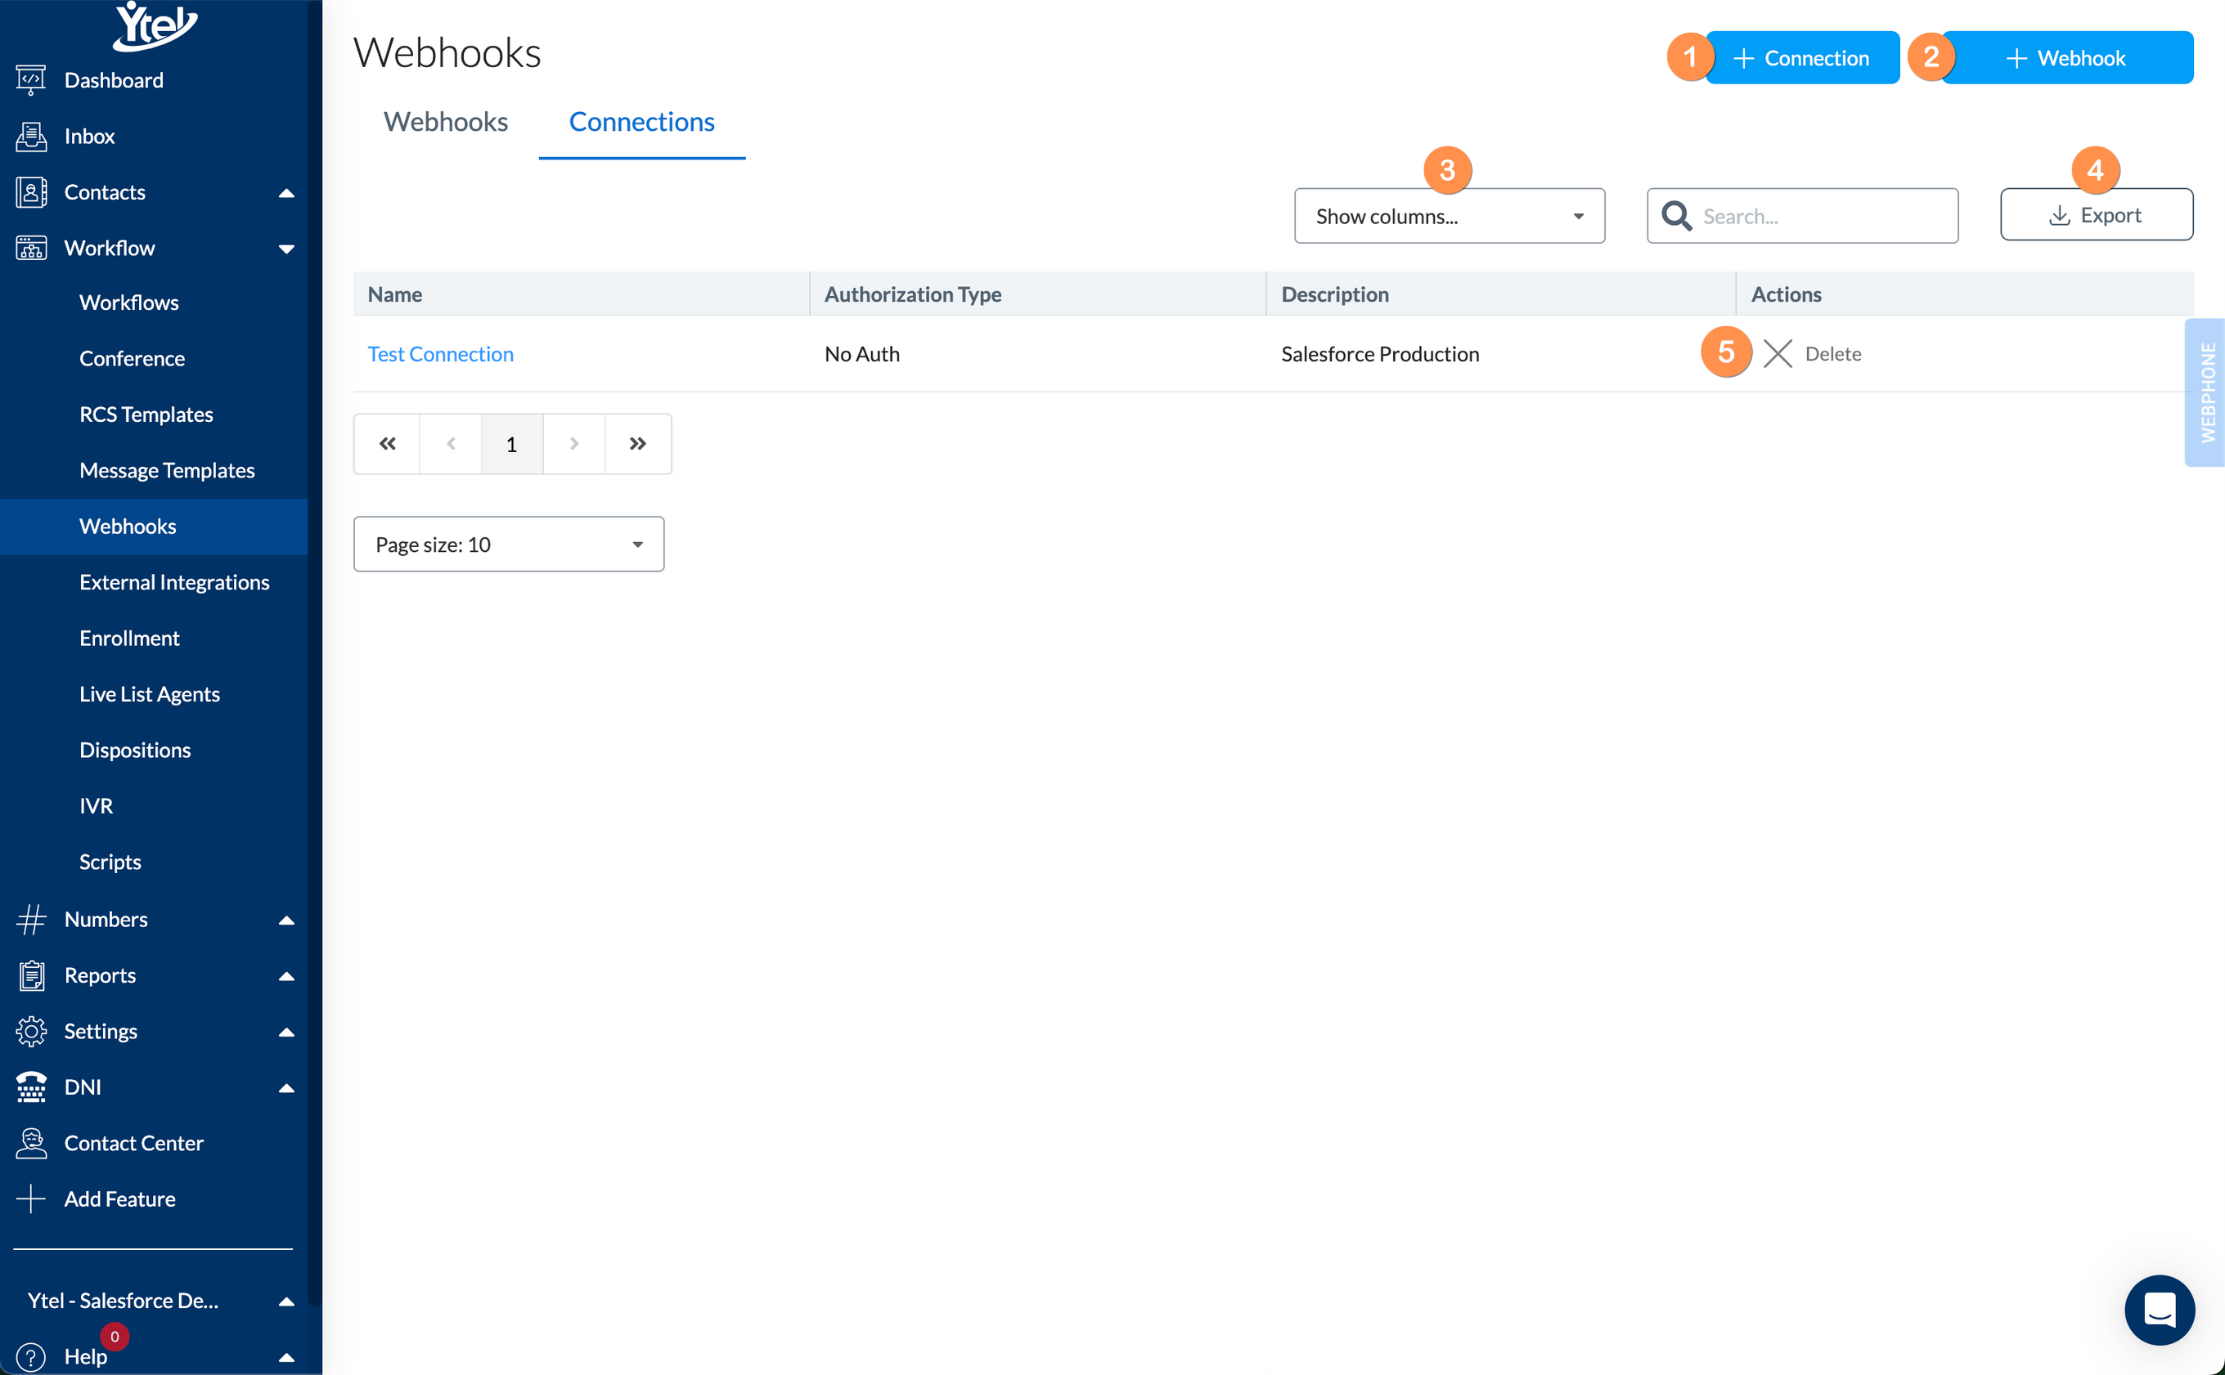
Use the connections tab to view and manage your webhook connections:
- Connection: Create a new connection.
- Webhook: Create a new webhook.
- Show Columns: Show and hide columns displayed in your connections list.
- Export: Export your list of connections to CSV.
- Row Actions: Delete an existing connection.
Create Connection

When creating a new connection, you will complete the following fields:
- Name: Give your connection a descriptive name.
- Description: Summarize your new connection's use.
- Add Authorization Header: Add authorization headers using key-value pairs.
- Add Header: Add non-authentication headers using key-value pairs.
Updated about 1 year ago